Spring buying guide: Getting started with living willow
6 March 2026

Spring is a fantastic time of year; the days are lengthening, the weather is cheering up, and nature is slowly waking up from her winter slumber. Spring is about new beginnings, and it’s also the perfect time to get started with living willow – even if you’ve never tried it before.
Read on for a few top tips on planning and planting living willow structures, and buying the willow you need.
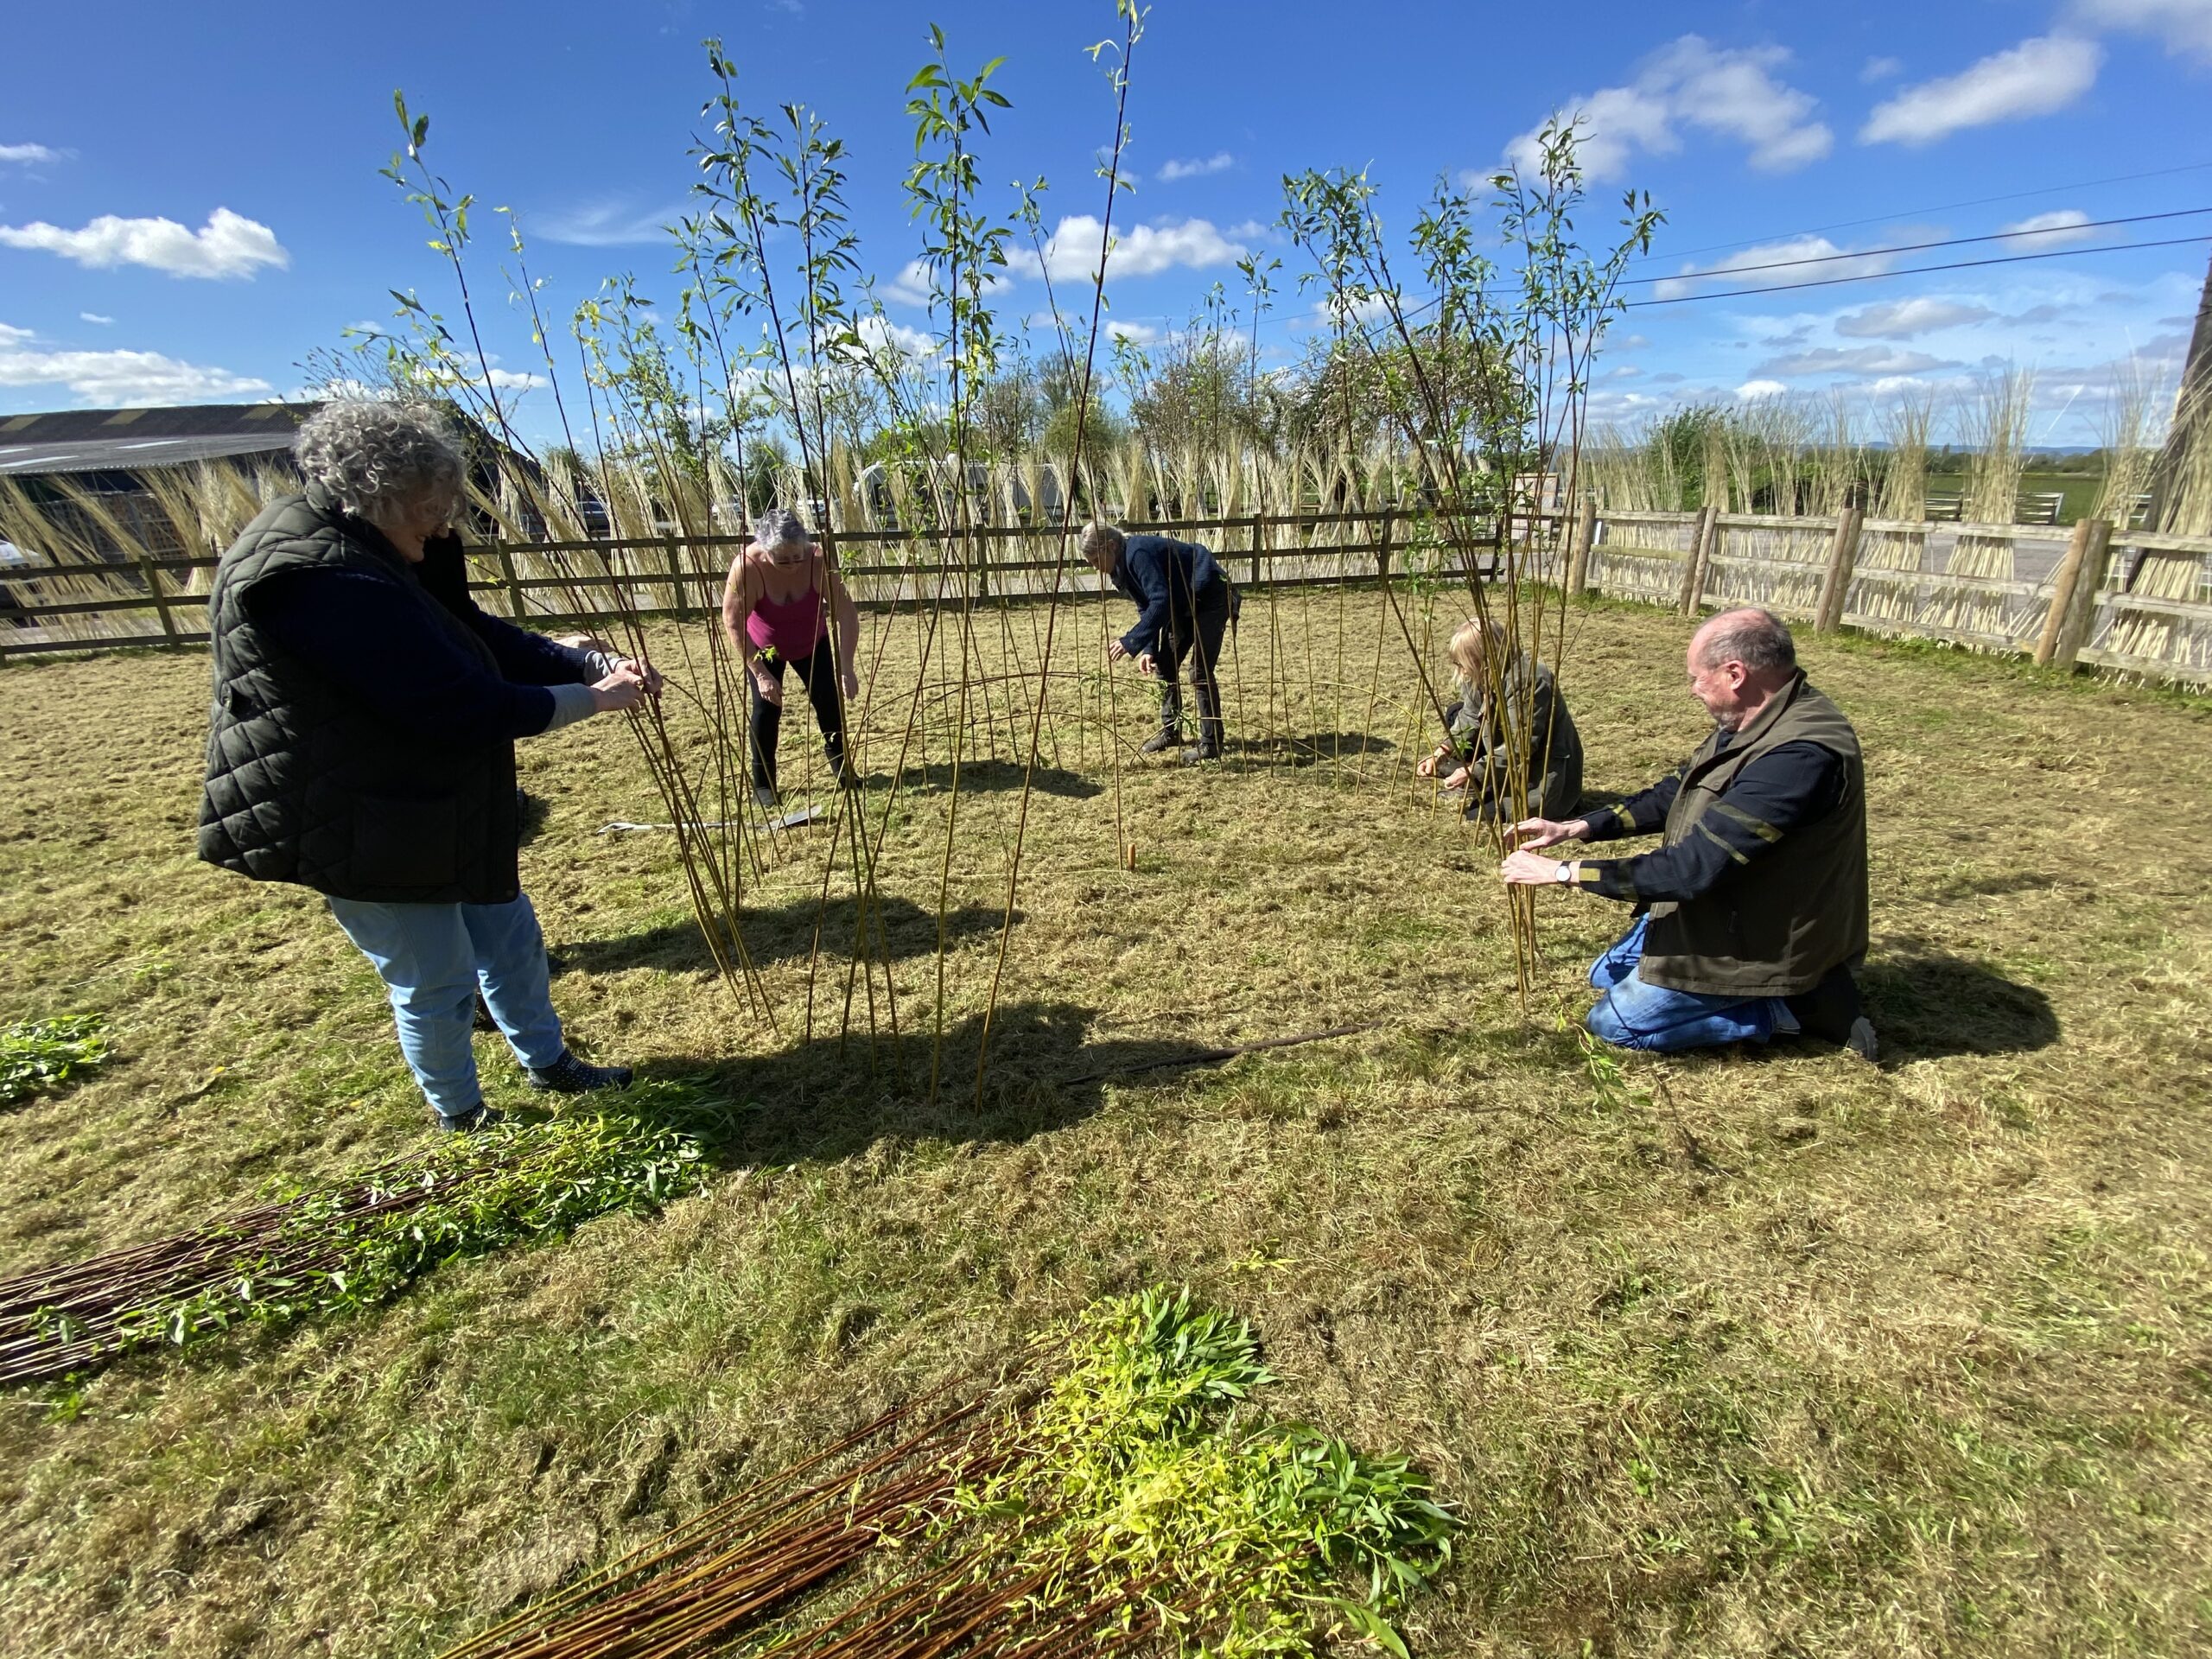
Tip 1: Choose your living willow project
Step one is to decide which living willow structure you want – our top tips on building living willow structures and handy guides on how to build some of the most popular living willow structures can help get you started:
Smaller living willow projects are also a great place to start if you’re having a go at living willow for the first time and have limited garden space – such as:
Tip 2: Plan your project
When deciding which living willow project is suitable for you, you’ll need to plan where and when you’ll plant your structure.
Surrounding area
Make sure you don’t plant your living willow close to established trees, hedges, or shrubs. This can lead to competing roots causing problems for both plants.
Instead, choose a site with enough space to comfortably walk around your living willow structure. This will be needed for when you weave in new growth, and prune, mulch, and water your willow.
Willows roots naturally seek moisture, so it’s also important to plant living willow well away from water pipes, drains, and other underground services.
Planting and soil
Plant your living willow during the dormant season, which is typically from late November to early March. Living willow grows best in:
- Moist and fertile soil, with good organic content
- Soil that has good drainage, and holds water without becoming waterlogged
- Soil with a neutral to slightly acidic pH
Avoid very free-draining, sandy soils that dry out quickly, or heavy, compact soils that hold standing water for too long.
Tools
To complete your project, you only really need a good pair of secateurs and some Flexi-Tie. Secateurs handle all cutting and trimming, while Flexi-Tie is a strong, non-slip twine that stretches as your plant grows, making it ideal for holding a living willow structure together.
Alternately, you can create your own natural willow ties using fresh cut green willow, ideal because it is flexible and doesn’t require soaking (we recommend buying it in 3ft lengths). To create willow ties you may also need a bodkin – you can then follow our guide on creating natural willow ties.
Tip 3: Buy your living willow
At Musgrove Willows, we grow more than 60 varieties of willow on our family farm – and have been doing so since the 1920s. The varieties we select for planting are chosen for their strength and disease resistance, making them well-suited to creating long-lasting living willow structures.
Living willow varieties
We currently stock four different varieties of living willow. Different varieties are better suited to creating different parts of the structure, so it’s important to determine which willow is best suited to your project.
If you want to make a sturdy outdoor structure, such as a living willow dome, tunnel, arbour, or fence (‘fedge’) these willow varieties are ideal:
- Hybrid 1 Living Willow: Slightly thinner than Hybrid 2, these smooth, brown rods are viable in many different soil conditions. However, it is not recommended for chalky or very free-draining soils. These work well for secondary uprights/structures on larger structures, or main uprights on smaller-scale work.
- Hybrid 2 Living Willow: These thick-stemmed rods are slightly furry to the touch and stouter than the Hybrid 1 variety. These work well for main structual elements such as doorways, arches or main supports/uprights.
- Caledendron Living Willow: A beautifully rich red brown along its length, this willow is perfect for adding striking colour to living willow structures, as weavers or secondary uprights/structure.
- Flanders Red Living Willow: This versatile willow has waxy stems and a deep red brown colour. Again, this willow is perfect for adding striking colour to living willow structures, as weavers or secondary uprights/structure.
Living willow kits
If you’re trying your hand at living willow for the first time, our DIY living willow kits are a helpful introduction. We stock living willow kits for:
All our kits include all the materials you need to plant and create a living willow structure, including all the willow you’ll need, along with pegs, Flexi-Ties, a weed mat and plus full assembly instructions. Every kit is also available in ‘willow only’ format as well.
Living willow courses
We also regularly host a range of willow weaving courses right here on our Somerset farm. Our Living Willow Structures for the Garden is the perfect introduction to working with living willow. You will be guided through the entire process by our expert tutor and supplied with all the materials you need for the course, along with samples to take home, and plans for developmental work at home. There is also the opportunity to purchase living willow to take home at the end of the course.
Tip 4: What to do with your living willow when it arrives
1. Unrwrap
Our living willow is delivered wrapped in recyclable biofilm plastic. On arrival, cut this plastic away.
2. Cut straps
The living willow is separated into bundles, held together with straps. In some cases, two bundles are double strapped together. It can be helpful to cut these double straps, separating larger bundles into smaller, more manageable bundles each held together with a single strap.
3. Trim if needed
If any roots have formed at the base of your living willow, do not cut the butt end of your rod before soaking it in water.
Our living willow generally arrives fresh and wet, ready to soak up water. If it feels a little dry and no roots are showing, you can cut a sloping cut into the base of each rod to help them take up water.
4. Pre- planting water
Place the rods upright in a bucket or suitable container with the butt (thicker) ends sitting in around 10 cm of fresh water so they can take up water before planting, taking care not to damage any roots, and store in a cool, dark place for 24 (colder days) to 48 hours (warmer days).
Tip 5: Watering and aftercare
Never allow newly planted living willow to dry out. During spring and summer, water it regularly and deeply. Mulching around the base of your willow will also help it retain moisture and grow evenly.
To keep your living willow strength and longevity, it will need annual maintenance. This includes:
- Weaving in new growth
- Pruning to maintain its shape and height
- Occasionally, replanting or layering to fill gaps
Take a look at our handy video on Weaving in a Willow Fedge Year 2
Musgrove can help with all your willow needs
At Musgrove Willows, we’re here to support you at every stage of your willow journey. Whether you’re looking for living willow for your first project, interested in one of our willow weaving courses, or simply need to contact our team for advice and information – we’re here to help.


